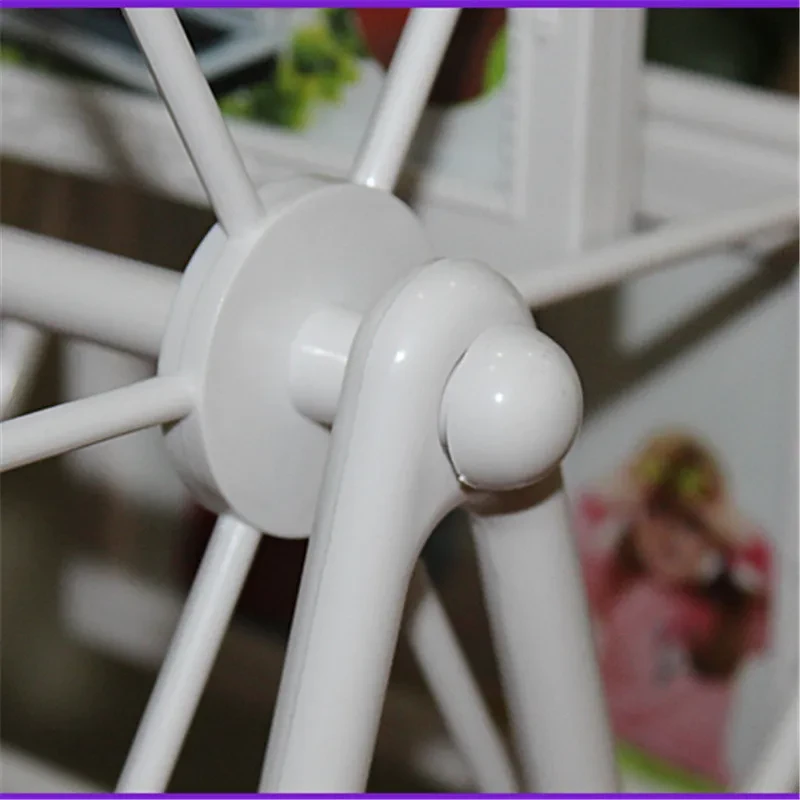

DIY High-quality Creative 5-inch Ferris Wheel Photo Frame
Approx $68.74 USD
The DIY High-Quality Creative 5-Inch Ferris Wheel Photo Frame is a delightful way to showcase your favorite memories. With its whimsical design and customizable features, this project allows you to express your creativity while adding a charming touch to your home decor.
Features of the DIY Ferris Wheel Photo Frame
1. Unique Ferris Wheel Design
This photo frame features a playful Ferris wheel shape that adds a fun and artistic flair to your space. Its eye-catching design makes it a perfect centerpiece for any room.
2. High-Quality Materials
Made from durable materials, this frame is built to last. The sturdy construction ensures that your photos are well-protected while maintaining a stylish appearance.
3. 5-Inch Photo Capacity
Designed to hold a 5-inch photo, this frame is perfect for showcasing your favorite snapshots, whether they’re family portraits, travel memories, or special events.
Benefits of Creating Your Ferris Wheel Photo Frame
1. Personalized Creativity
Crafting your own Ferris wheel photo frame allows for endless customization. Choose colors, patterns, and embellishments that reflect your style and the memories you want to display.
2. Engaging Craft Project
This DIY project is a fun and engaging way to spend time, whether alone or with family and friends. It’s a great opportunity to bond while creating something beautiful together.
3. Thoughtful Gift Idea
The finished Ferris wheel photo frame makes a unique and heartfelt gift. Personalize it with photos for a special occasion, or give it as a creative project for someone to enjoy.
How to Create Your DIY Ferris Wheel Photo Frame
1. Gather Your Materials
Collect the following items for your project:
- Ferris wheel frame cutout (available in craft stores or printable templates)
- Paint or decorative paper
- Craft glue or adhesive
- Scissors
- 5-inch photo
- Decorative embellishments (stickers, markers, etc.)
2. Paint or Decorate the Frame
Using paint or decorative paper, customize the frame to your liking. Allow it to dry completely before moving on to the next step.
3. Assemble the Frame
Carefully follow the assembly instructions (if using a kit) or glue the parts together to form the Ferris wheel structure. Ensure everything is securely attached.
4. Insert Your Photo
Once the frame is assembled, insert your 5-inch photo into the designated slot. Make sure it’s positioned well to be visible and secure.
5. Add Decorative Touches
Enhance your Ferris wheel frame with additional embellishments. Use stickers, drawings, or other decorative elements to personalize your creation further.
The product may be provided by a different brand of comparable quality.
The actual product may vary slightly from the image shown.
Shop amazing plants at The Node – a top destination for plant lovers


.webp)


.webp)