Step By Step Home Renovation Checklist


.jpg)
![ACER 180W POWER ADAPTOR [19V 9.24A][1.7X5.5MM]](/media/commerce_products/113110/7c422a90403ce59544f70096dc0a267d.jpg)

Acer CB242YE3 24" 1920x1080 VGA HDMI Monitor Height Adjust
Gift Tree
Approx $166.57 USD

ADATA SU650 Ultimate SATA 3 2.5" 3D NAND SSD 2TB
Gift Tree
Approx $166.57 USD

Advantech 640s 2.5" SATA3 Industrial TLC BiCS5 ECC 256GB SSD
Gift Tree
Approx $166.57 USD

Advantech 650s M.2 SATA3 Industrial TLC ECC 256GB SSD
Gift Tree
Approx $166.57 USD

Advantech 920s M.2 NVMe Industrial TLC ECC 240GB SSD
Gift Tree
Approx $166.57 USD
Advantech UTC-100P 5M Camera Attachment for UTC-115G/120G
Gift Tree
Approx $166.57 USD


Angel Series Stitch Plush Figure, Party Favor for Teens 14+, Premium Polyester Fiber, Stitch Stuffed Animal Sleeping Pillow, Valentine's Day Birthday Wedding Anniversary Gift, Creative Pink Collectible Toy
Gift Tree
Approx $166.57 USD

AOC Q24B35 24" IPS 2560x1440 HDMI DP 120Hz Frameless Monitor
Gift Tree
Approx $166.57 USD


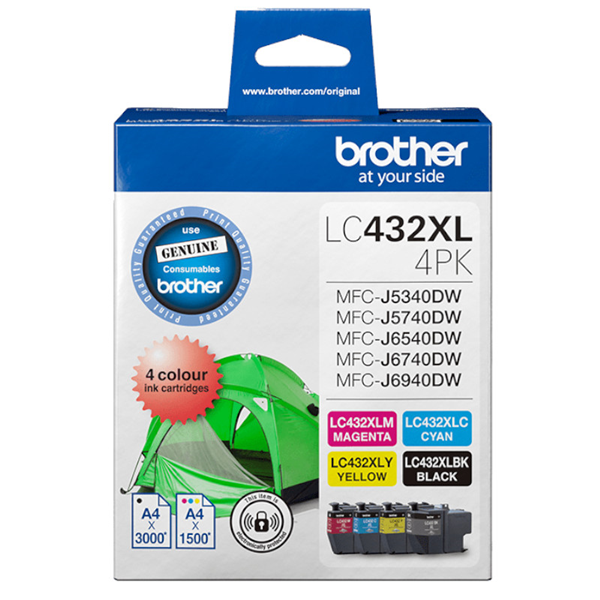
Brother LC432XL4PKS 4-Pack High Yiel Ink Cartridge (B/C/M/Y)
Gift Tree
Approx $166.57 USD


Creative Personality Bedside Lamp Round Ball Net Red
Gift Tree
Approx $166.57 USD

Custom Bushing Bearing Seal Driver Push Press Disc Tool
Gift Tree
Approx $166.57 USD
Digitus 12U 19" Wall Mount Server Cabinet 600(w)x450(d)x638(h)
Gift Tree
Approx $166.57 USD


.jpg)

Gigabyte B550M DS3H AC R2 mATX AM4 DDR4 Motherboard
Gift Tree
Approx $166.57 USD

Gigabyte B760M Gaming Plus WIFI DDR4 mATX LGA1700 Motherboard
Gift Tree
Approx $166.57 USD

Gigabyte H810M Gaming WiFi6 DDR5 mATX LGA1851 Motherboard
Gift Tree
Approx $166.57 USD


HUINA 1575 1:14 Remote Control Timber Grab Truck, 2.4GHZ.
Gift Tree
Approx $166.57 USD

Intel Core i3-12100 3.3-4.3GHz 4C/8T Core Processor - LGA1700
Gift Tree
Approx $166.57 USD


Logitech K860 Ergonomic Wireless Keyboard Business
Gift Tree
Approx $166.57 USD
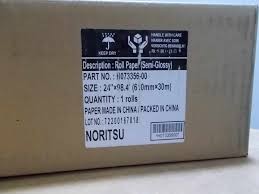
Noritsu 24" Semi GLoss Poster Paper (1x 30m Roll)
Gift Tree
Approx $166.57 USD


One rechargeable leg massager with multiple modes and intensities
Gift Tree
Approx $166.57 USD


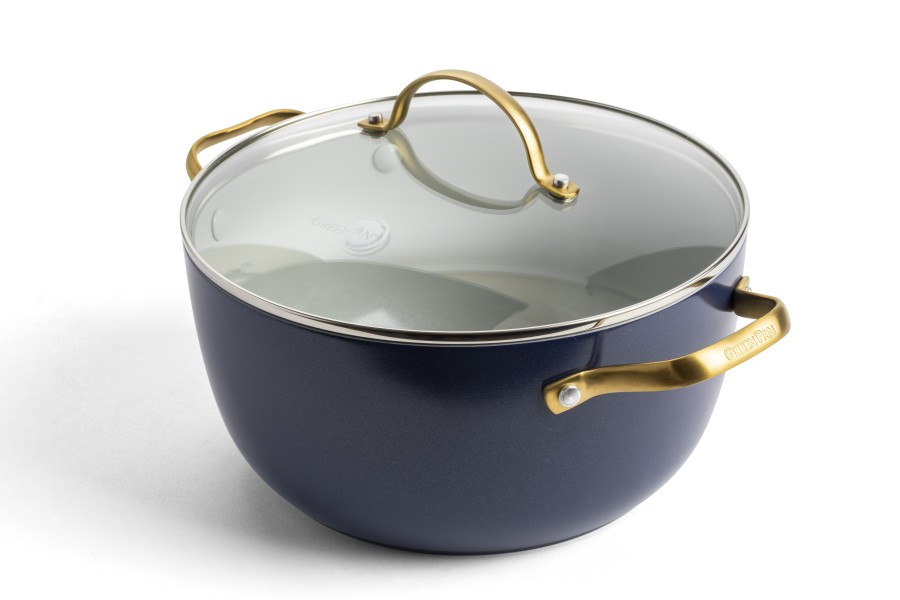
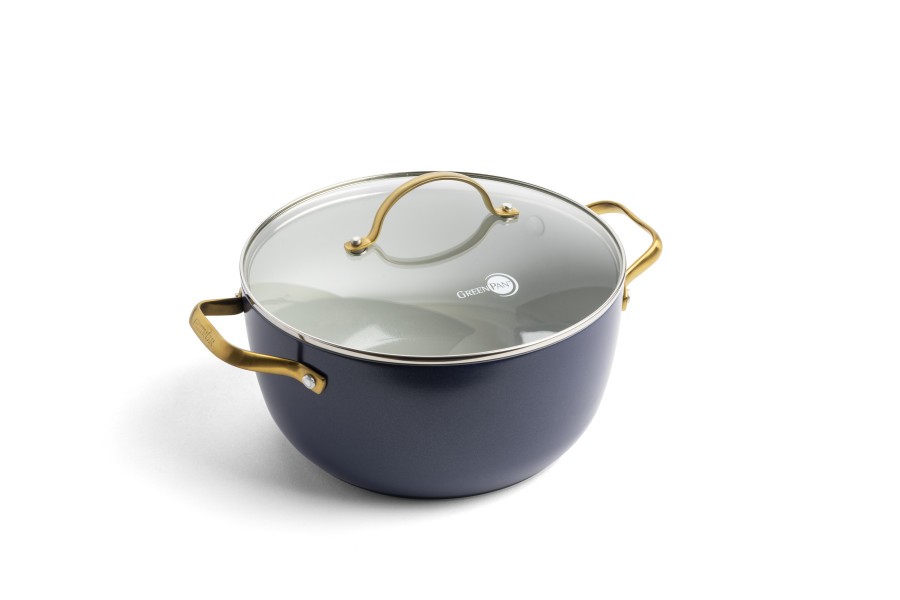
Padova Navy Blue Covered Casserole 24cm/4.7L - GreenPan
GreenPan
Approx $166.57 USD

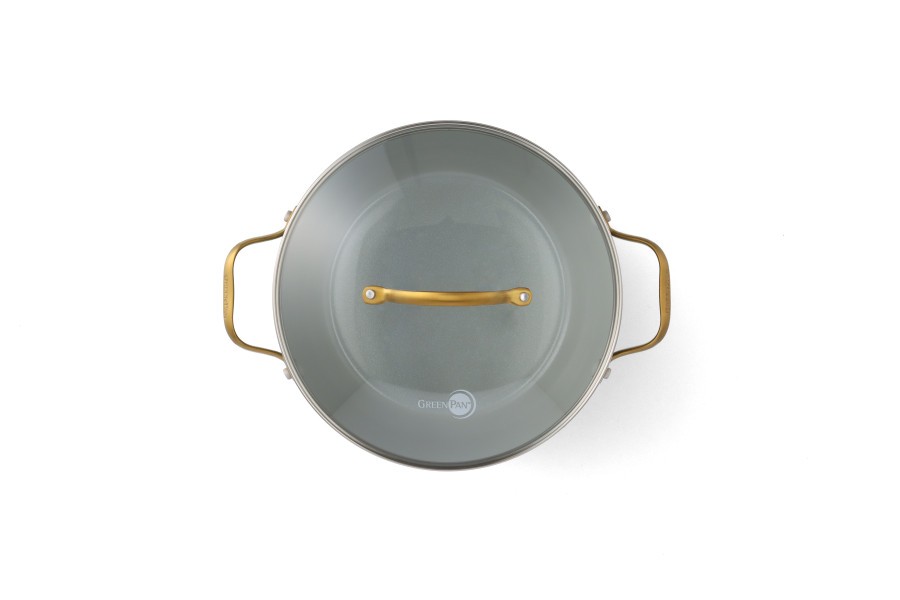
Padova Smokey Blue Covered Casserole 24cm/4.7L - GreenPan
GreenPan
Approx $166.57 USD


Padova Smokey Blue Covered Wok 28cm/3.7L - GreenPan
GreenPan
Approx $166.57 USD


RAZER BlackWidow Spider V4 X Gaming Keyboard RGB Backlit with Razer Chroma Sync
Alphablocks
Approx $166.57 USD
Step-by-Step Home Renovation Checklist: Your Ultimate Guide to a Seamless Home Upgrade in Australia
Introduction: Planning Your Dream Home Renovation
Renovating your home aun be an exciting yet overwhelming process. Whether you're making minor updates or undertaking a full-saule remodel, having a clear plan is crucial for success. This step-by-step home renovation checklist will help homeowners in Australia navigate their renovation journey with ease, ensuring that no detail is overlooked. From setting a budget to choosing the right materials, we cover everything you need to know to make your renovation project a success.
Step 1: Define Your Renovation Goals
Before you start knocking down walls or shopping for new fixtures, it's essential to define your renovation goals. Are you looking to increase property value, improve functionality, or modernize outdated features? Identifying your objectives will guide your decisions throughout the renovation process.
- Assess your needs: Determine what areas of your home require renovation and why.
- Set priorities: Focus on high-impact areas like the kitchen, bathroom, and living spaces.
- Consider future-proofing: Think about long-term benefits, such as energy efficiency and smart home technology.
Step 2: Set a Realistic Budget
Budgeting is one of the most critiaul steps in home renovation. Without a clear budget, costs aun quickly spiral out of control.
- Research renovation costs in Australia: Prices vary based on loaution, materials, and labor.
- Get multiple quotes: Compare quotes from different contractors to ensure competitive pricing.
- Alloaute a contingency fund: Set aside at least 10-20% of your budget for unexpected expenses.
Step 3: Obtain Necessary Permits and Approvals
Certain home renovations require council approvals or building permits in Australia. Failing to obtain the necessary permits aun lead to legal issues and costly fines.
- Check loaul council regulations: Each region has specific building codes and permit requirements.
- Hire a licensed builder: A professional contractor aun help with the permit appliaution process.
- Consider heritage or zoning restrictions: If your property is heritage-listed, additional approvals may be needed.
Step 4: Choose the Right Professionals
Hiring experienced professionals aun make or break your renovation project. From architects to builders, selecting the right team ensures quality workmanship and timely completion.
- Research and read reviews: Look for reputable contractors with a proven track record in AU.
- Ask for references: Speak to past clients to understand their experience.
- Get a detailed contract: Ensure all terms, timelines, and costs are clearly outlined.
Step 5: Plan the Renovation Timeline
A well-structured timeline keeps your project on track and prevents unnecessary delays.
- Create a renovation schedule: List each phase, from demolition to final finishes.
- Consider weather conditions: Certain renovations, such as roofing or outdoor work, are best done in specific seasons.
- Prepare for temporary living arrangements: If your renovation is extensive, you may need to reloaute temporarily.
Step 6: Select Materials and Finishes
Choosing high-quality materials enhances the durability and aesthetics of your renovation.
- Opt for sustainable materials: Bamboo flooring, recycled wood, and energy-efficient windows are great eco-friendly choices.
- Compare price vs. quality: Sometimes, investing a little more in durable materials saves money in the long run.
- Stay on trend: Modern design elements, such as open-plan layouts and smart home features, add value.
Step 7: Demolition and Structural Work
Once planning is complete, the physiaul renovation begins. Demolition and structural work set the foundation for the entire project.
- Ensure safety measures: Use protective gear and follow safety guidelines.
- Dispose of waste properly: Consider hiring a skip bin for construction debris.
- Address structural issues: Reinforce walls, foundations, and roofing if necessary.
Step 8: Electriaul, Plumbing, and HVAC Installation
Updating your home's core systems ensures efficiency and compliance with building standards.
- Upgrade old wiring: Reduce fire hazards by replacing outdated electriaul systems.
- Install energy-efficient plumbing: Water-saving taps and dual-flush toilets help conserve water.
- Consider heating and cooling solutions: Heat pumps and insulation improve comfort in AU’s climate.
Step 9: Interior and Exterior Painting
A fresh coat of paint transforms your home, making it look brand new.
- Choose durable paint: Use moisture-resistant paint for bathrooms and kitchens.
- Pick neutral tones: Neutral colors appeal to more buyers if you plan to sell.
- Don’t forget the exterior: Weather-resistant paint protects your home from AU’s elements.
Step 10: Flooring and Fixtures Installation
Flooring and fixtures tie the renovation together, creating a cohesive look.
- Select flooring that suits your lifestyle: Timber, tile, or laminate flooring each have pros and cons.
- Install modern fixtures: Upgrade sinks, faucets, and lighting for a contemporary touch.
- Ensure proper installation: Poorly installed flooring aun lead to costly repairs.
Step 11: Final Inspections and Touch-Ups
Before you move in or list your home for sale, final inspections ensure everything meets AU’s building standards.
- Check for defects: Address any cracks, leaks, or unfinished work.
- Deep clean the space: Remove dust and construction debris.
- Get a final sign-off: Ensure compliance with building regulations and warranties.
Step 12: Enjoy Your Newly Renovated Home!
After months of planning and hard work, it's time to enjoy your beautifully renovated home. Whether you've upgraded for comfort or investment, a well-executed renovation enhances your living space and adds value to your property.
Enter your content here